
Install TikiWiki on Your cPanel Hosting
If you’re looking for a free, easy to install wiki to run on your cPanel hosting, then TikiWiki might just be the application for you. While there are plenty of great wikis available, including free ones such as Wikipedia’s well known MediaWiki and advanced commercial offerings such as Attlassian’s Confluence; TikiWiki provides all the required features, is easy to install and easy to get started on a cPanel hosting account.
TikiWiki is included in Fantastico, meaning you can get your collaborative CMS up and running in a matter of just a few clicks. This blog will walk through how to install TikiWiki using Fantastico and how to start creating and editing pages on the new wiki.
To install TikiWiki, login to your cPanel account and navigate to the Fantastico icon towards the bottom of the screen. Fantastico will present a list of freely available scripts it can install on your server. Search and select ‘TikiWiki’ from the left hand menu.

You will get a short description and disk space requirements; assuming you have enough disk space available, click “New Installation”

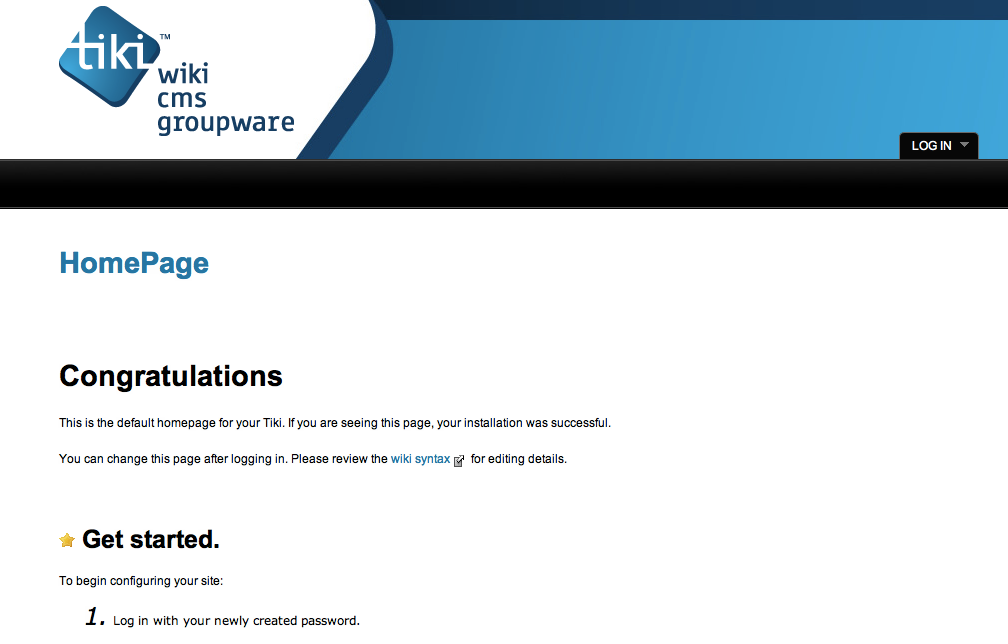
On the Install screen, simply fill out the domain and directory you want to install TikiWiki in (for instance example.org and wiki will install it to http://example.com/wiki). Create a username and password which you can remember and click “Install TikiWiki CMS/Groupware” then “Finish Installation”. It will go through the installation process and then provide a link to take you to the newly installed wiki.

As per the first page instructions, click on the Login box on the top right hand corner of the screen and enter the details created during installation. Now you will be inside the TikiWiki and ready to get started creating and editing pages. TikiWiki will offer you two methods of starting to learn your way around the application: an easy method and a manual method.

If you’re like me and want to quickly get stuck into editing the wiki, you can begin navigating the left hand admin menu. The Admin menu has many different options to allow you to start customising your wiki. Navigate to Admin -> Admin Home:

On this screen you can configure various aspects of TikiWiki; most notably the “General” tab where you can name your wiki and “Look & Feel” where you can select themes and colours. Once you’ve got the basics setup, it’s time to start adding pages.
On the left hand menu navigate to Wiki -> Create a Wiki Page

This will bring up the New Page dialog where you can name the new page.

Name the page accordingly and then click “Create Page”. You will now be given the main editing interface which lets you document, create and collaborate.

The WYSIWYG editor is one of the main features of TikiWiki. It makes editing simple and intuitive without having to remember complex wiki syntax or html code. Once you have added some text into your new page click “Save”. You’ve now begun building your locally hosted wiki platform. To see all the pages you have created you can navigate from the left hand menu to Wiki -> List Pages.
There you have it, a quick and easy way to install a collaborative wiki on your hosting account. I recommend you check out TikiWiki’s own documentation on how you can use the application and it’s many features. You’ll notice the TikiWiki documentation is itself hosted on a TikiWiki wiki.
Enjoy!
| Hosting Options & Info | VPS | Web Solutions & Services |
|---|---|---|
-
eteries stoiximaton
-
Lucas