
How to Update WordPress, Without Risking your Website!
Ever upgraded your WordPress instance and didn’t like the results? Wow, just reading it is stressful.
Updating your WordPress instance and Plugins is very important for: Security, Performance, Compatibility and features.
So, you know you need to keep up to date, but how can you upgrade without the inherent risks? We hear you loud and clear, so the Crucial team are going to let you in on a little secret – how to test a WordPress update with the help of a staging site. Interested? Read on.
Step 1: Log in to cPanel and access Softaculous
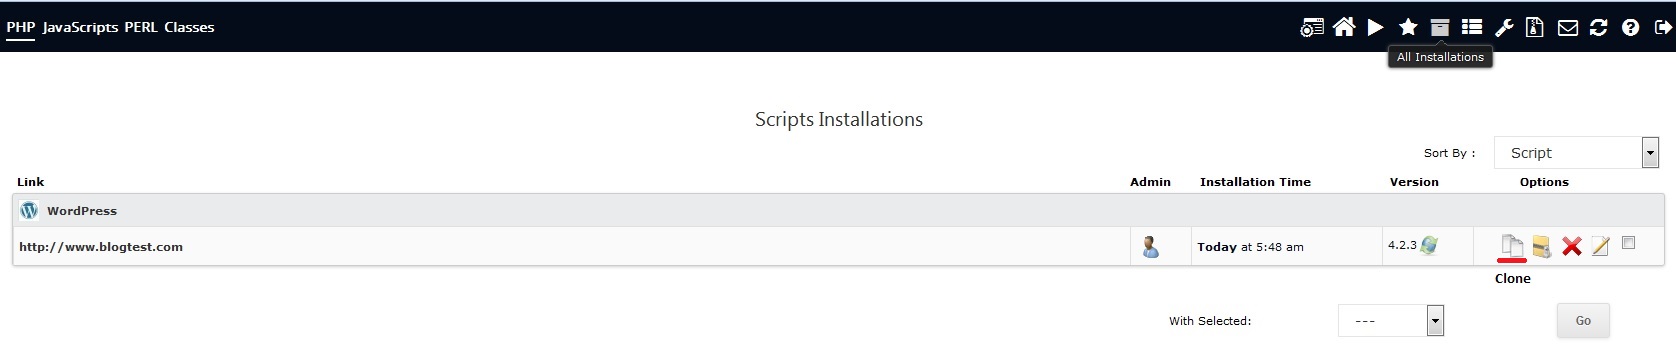
Step 2: Locate your existing WordPress installation in the ‘All Installations’ page
i: If your existing installation is not listed in Softaculous, you will need to Import it
Step 3: Click on the ‘Clone’ button on the ‘All Installations’ page
Step 4: Enter ‘staging’ as the directory name on the ‘Cloning WordPress’ screen, and then click ‘Clone Installation’

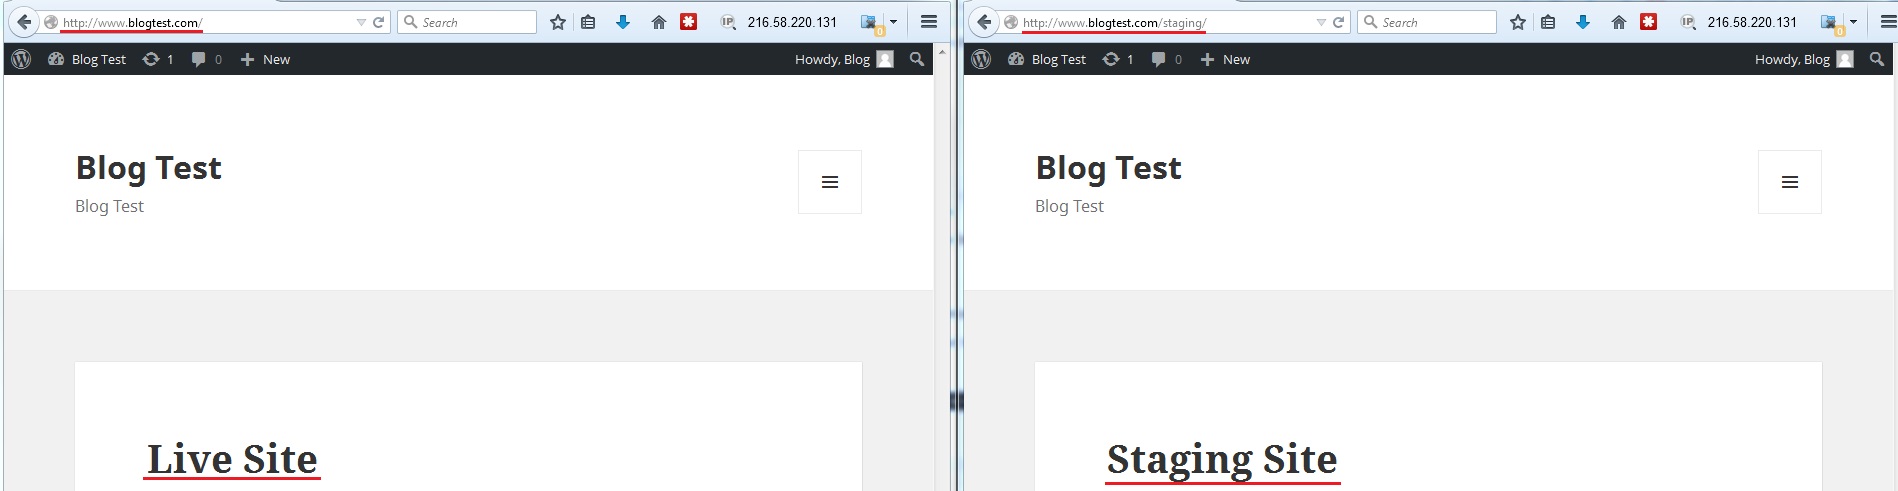
Step 5: You will now be able to log into your staging WordPress install, and perform changes/upgrades without affecting your live site. You can log in by browsing to your WordPress blog, and instead of typing ‘/wp-admin’, type ‘/staging/wp-admin’.
Step 6: Once you’re logged in, make a small change to the staging site and ensure you can observe the difference compared to the live site (keep a close eye on your address bar as you work on each site)
Step 7: Merge your upgraded site to the live domain.
This can be done in a number of ways, for example if you’re just testing a quick change on the site, or if your WordPress upgrade goes through without any issues, you can proceed to perform the same action on your live site now that you know the results.
However, if you are performing a big change that requires extensive work on the staging site, you will likely want to merge the changes into the live site, this can be done like so:
a. Open the ‘all installations’ page in Softaculous, and make a backup of your live site
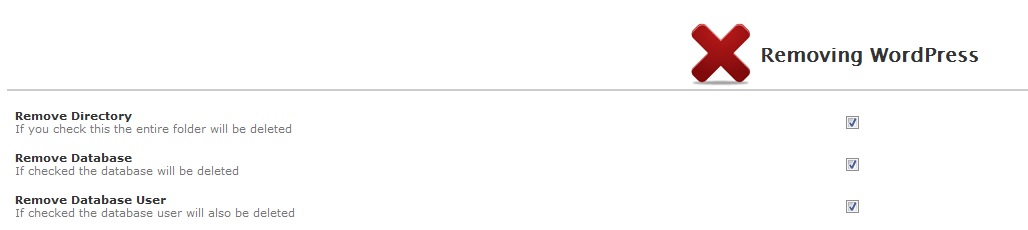
b. Remove your live WordPress installation (Including site files and databases)
c. Clone your staging site, leaving out the ‘staging’ directory. This will merge any upgrades or changes that you’ve made back into the live site.
Step 8: Remove the staging site from the ‘All Installations’ page for security reasons, if you need to test any changes in future, you can always clone the live site again.
-
Israel Tiomno