
Using the SSH Config File
SSH is perhaps the most essential tool in a technician or developer’s toolkit, particularly when managing a web server or VPS. For those familiar with the Unix/Linux command line, shell access is the quickest and easiest way to modify files and make administrative changes to your server. However, there are some powerful features of SSH which aren’t so well known; in this post I’m going to explain the SSH config file and how you can configure SSH aliases on your Linux or OSX based SSH client.
If you’re using the default SSH client on a Unix-like operating system such as Linux or Mac OSX, then you should already have a hidden folder in your home directory called .ssh (on Linux: /home/myuser/.ssh on OSX: /Users/myuser/.ssh). We’ll start by creating a new file inside your .ssh folder called config using your favourite text editor (such as Vi).
$ vi /home/myuser/.ssh/config
To begin, let’s add a simple host reference to a server I would like to SSH into:
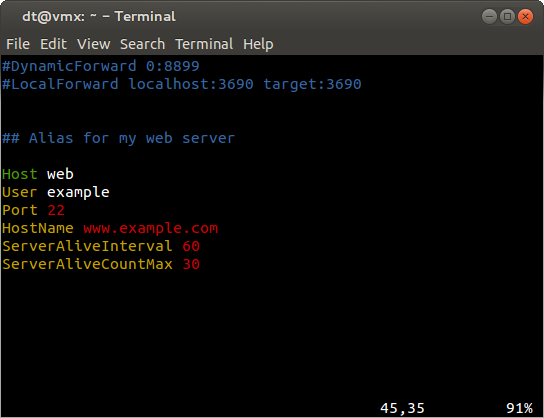
Host web
User example
Port 22
HostName www.example.com
With this very basic config file, you can now SSH into ‘www.example.com’ with the user ‘example’ using the following command:
$ ssh web
This is obviously quite a simple example that won’t save much time, however when using IP addresses instead of hostnames or non-standard ports, the config file becomes a real time saver. Now that we’ve set up an alias for our host, we can add extra configuration options as needed. One option I always like to set on my SSH sessions is the session keep-alive; this can be done by adding the following lines to your config under the appropriate Host:
ServerAliveInterval 60
ServerAliveCountMax 30
The first option will refresh your session every 60 seconds in order to keep it open, while the second option specifies that this should only be performed 30 times, thus ensuring your session won’t time-out for at least 30 minutes of inactivity.
In your SSH file you can add as many hosts as you like. In the following example config file I have configured both my web server and database server.
# My Web Server
Host web
User example
Port 22
HostName www.example.com
ServerAliveInterval 60
ServerAliveCountMax 30# My Database Server
Host db
User example
Port 22
HostName db.example.com
ServerAliveInterval 60
ServerAliveCountMax 30
But in the example above, I would rather configure my database server to only accept connections from the web server and not be public facing to keep the security as tight as possible. So let’s configure the database server’s SSH config to automatically connect via the web server:
Host db
User example
Port 22
HostName db.example.com
ProxyCommand ssh web nc %h %p
ServerAliveInterval 60
ServerAliveCountMax 30
The ProxyCommand option tells SSH to first connect to the ‘web’ alias before automatically connecting to the ‘db’ alias. This means it will effectively SSH’s into the web server, and then from there SSH’s into the database server. So to connect to the database server I just run the following command:
$ ssh db
And as I am using password authentication in this example, I get the following response:
dt@linux:~$ ssh target
[email protected]’s password:
[email protected]’s password:
Last login: Wed Oct 31 06:39:39 2012 from www.example.com
You’ll notice it prompted me for passwords for the web server followed by the database server as it hopped via the former. If you wanted to, you could set up your outgoing connections using SSH keys so you can completely bypass the password authentication. Now you’ve got your SSH environment configured with some of the more popular options, you can jump into the deep end by testing some of the other available options; to find out what they are you can type:
$ man ssh_config
Enjoy!
| Hosting Options & Info | VPS | Web Solutions & Services |
|---|---|---|